✍️ Author: Dr Eleni Christoforidou
Home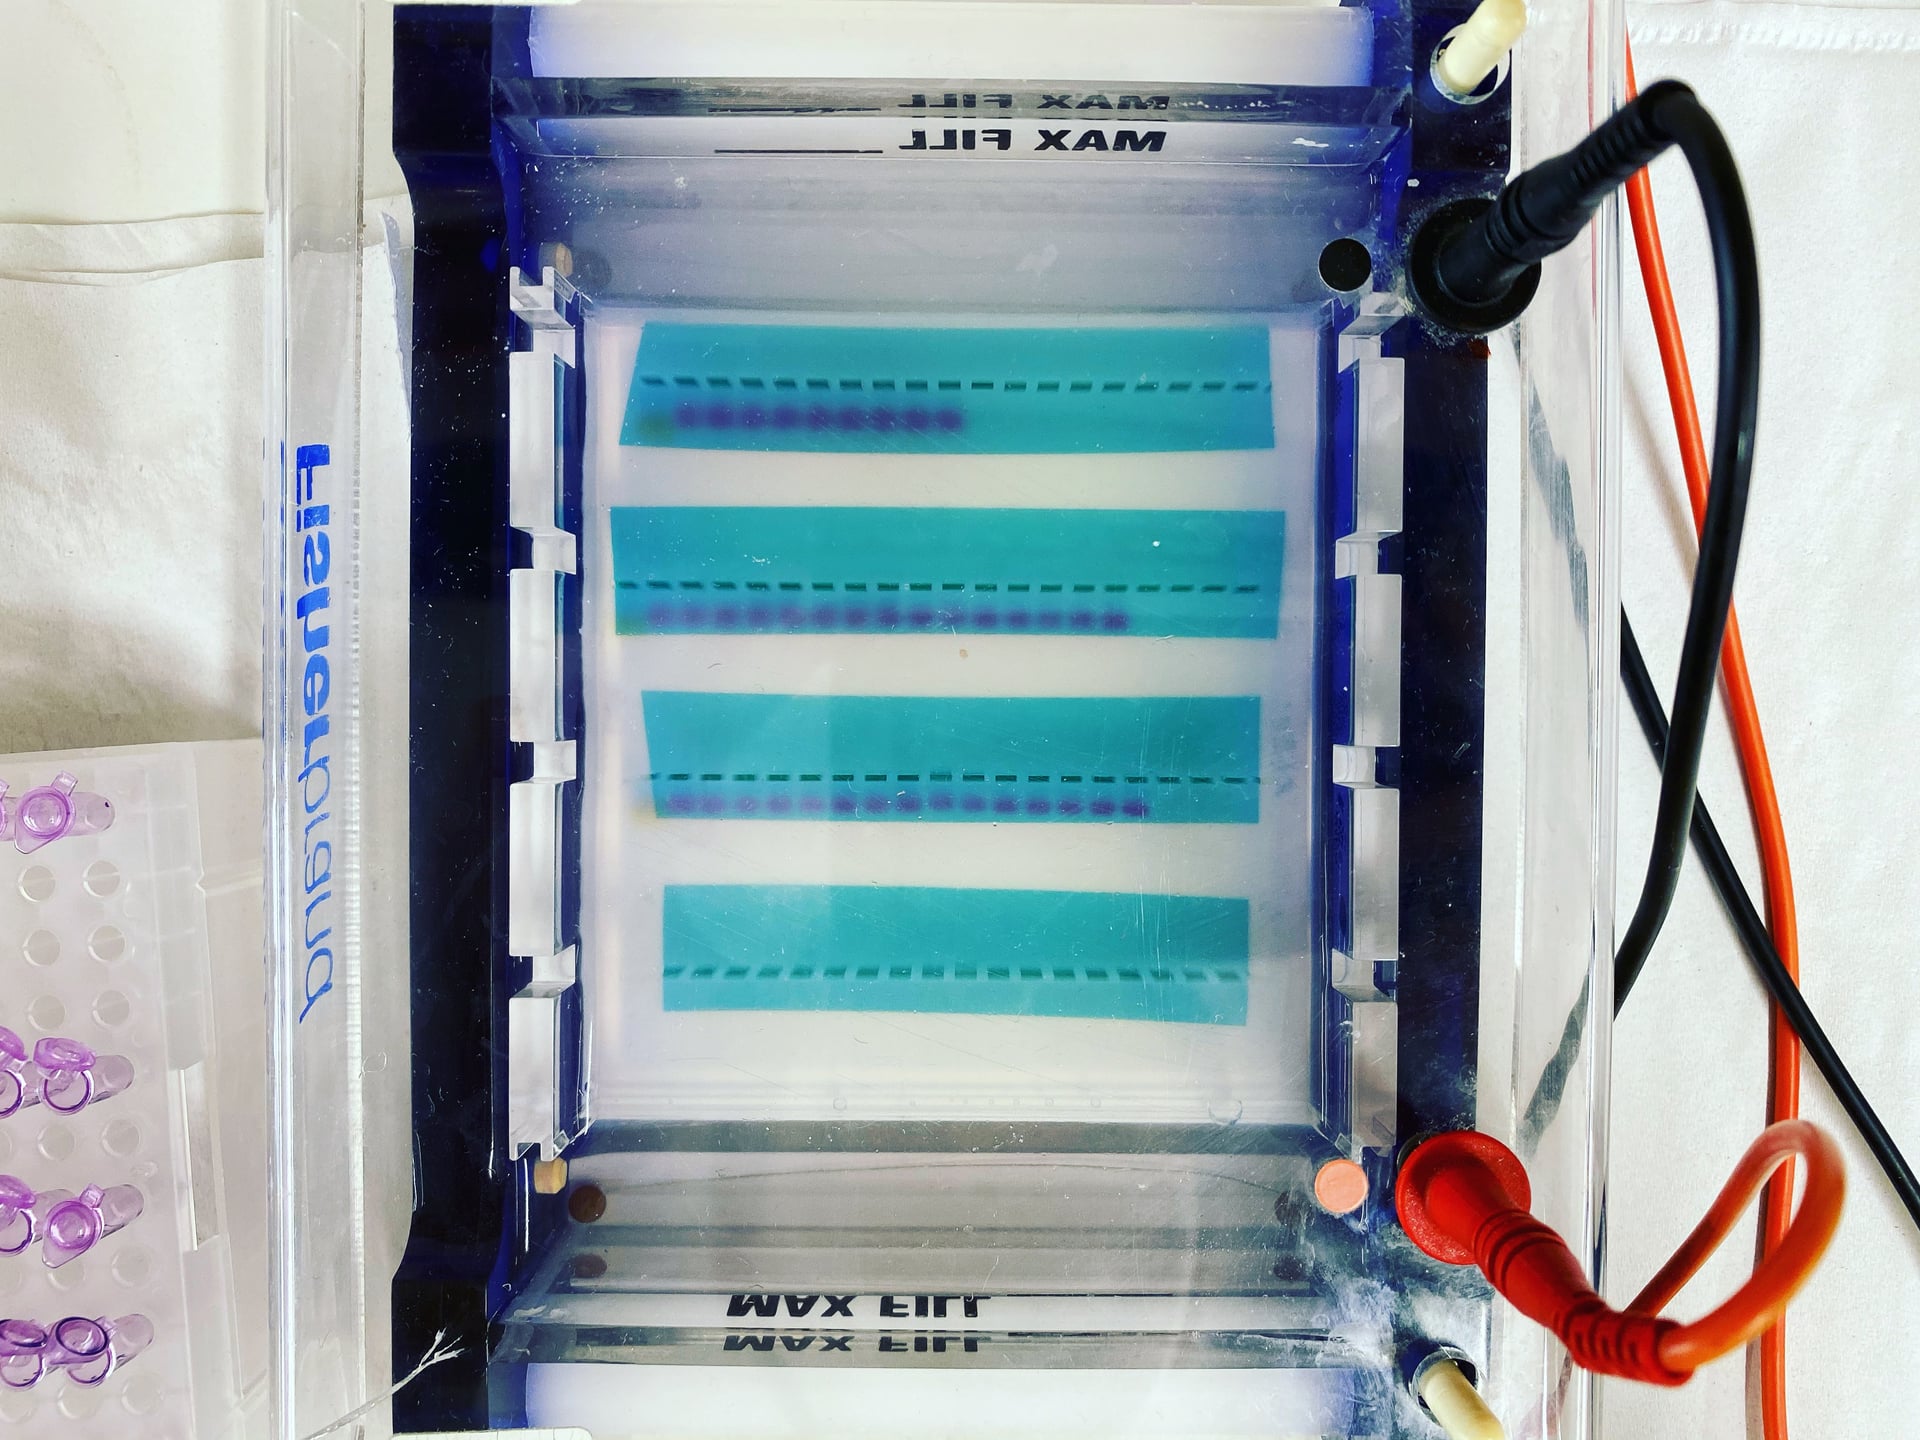
Gel electrophoresis in progress. Each tiny well was loaded with a DNA sample previously amplified by PCR. The purple bands are an indication of how far down the gel the samples have run.
A Day in the Lab: Visualising DNA through Gel Electrophoresis
🕒 Approximate reading time: 3 minutes
Dedicated to identifying which DNA samples contained a particular mutation, I spent today in the lab conducting genotyping. The initial step involved a PCR reaction to generate DNA fragments related to our gene of interest. This was followed by gel electrophoresis, a technique that aids in visualising these fragments, subsequently identifying the samples with the desired genotype.
Timelapse: Carefully loading the DNA samples into a gel tank for gel electrophoresis.
Unravelling Gel Electrophoresis
Gel electrophoresis is a fascinating technique that separates DNA, RNA, and protein molecules based on their size and charge. It involves the movement of charged particles within an electrical current.
A gel (in the video above, I used an agarose gel I prepared earlier) acts as an anticonvective medium during electrophoresis, suppressing thermal convection caused by the application of the electric current.
The electric field consists of a negative charge at one end, which propels the molecules through the gel, and a positive charge at the other end that pulls the molecules. DNA, bearing a negative charge, is repelled by the negative charge and attracted towards the positive charge.
Shorter molecules traverse faster and migrate farther than longer ones because they navigate more easily through the pores of the gel.
To gauge their size, the DNA samples are run alongside a DNA ladder containing fragments of different known sizes.